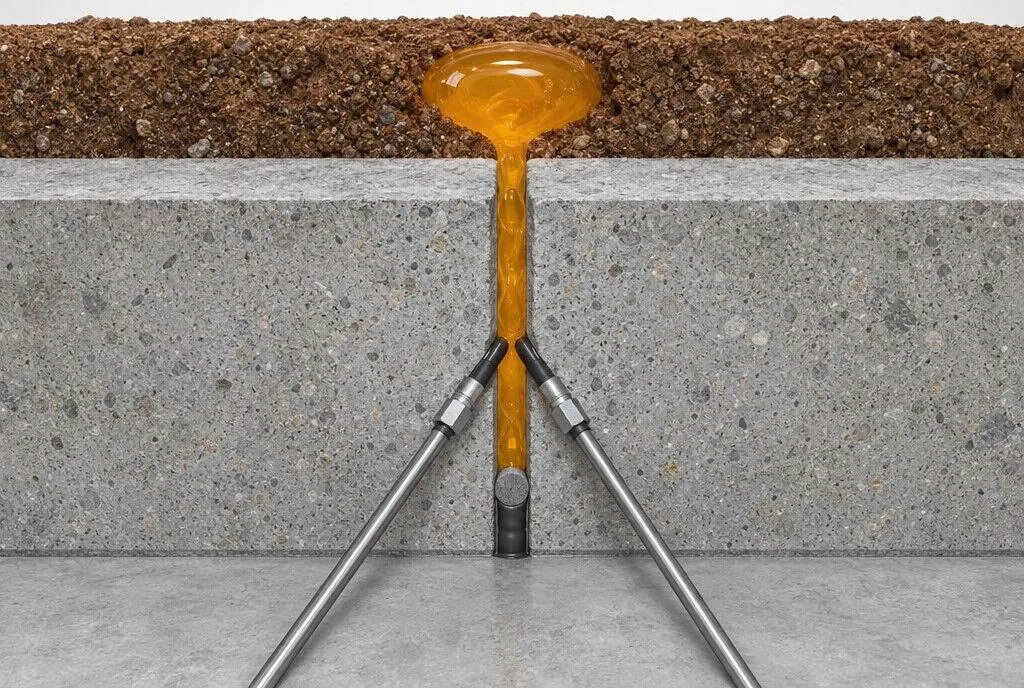
An expansion joint is the place where the building moves, so a rigid fill does not last long there. We fill the joint with flexible acrylate gel through angled packers from both sides, and build a second gel barrier behind it. We then finish the joint with a backer rod and polyurethane sealant.
Expansion joint gel injection is a way of stopping, from inside, the water that enters through the movement joint between two structural blocks. Packers are placed from both sides of the joint at 45°, so that they cut the joint at mid-depth, at 15–30 cm spacing. Dryvatec G101 acrylate gel with G102 additive for flexibility is injected; the gel fills the joint and, behind it, combines with the soil to form a bulb-shaped barrier. Finally the joint is closed with a backer rod and flexible PU sealant. Rigid cementitious fill is never used.
An expansion joint is the gap left so that two building blocks, or a long slab, can move with temperature, earthquakes and settlement without damaging each other. In basements, car parks, retaining walls and under terraces, this joint is in direct contact with the soil or rainwater.
During construction a tape, foam and sealant are placed in the joint. Over the years these materials tire, the sealant lets go and the tape tears. The water then finds the easiest path: it enters along the whole length of the joint, particularly at the base, at corners and in formwork voids. Very often the "repair" is to fill the joint with a cementitious mortar or a rigid epoxy. The first time the building moves, this fill either cracks itself or pulls away from the edge, and the water keeps coming in at the same place.
Our approach has two stages: first the inside and the back of the joint are filled with flexible gel, then the mouth of the joint is closed with a backer rod and polyurethane sealant. The gel is mixed to be flexible enough to follow the small movements of the joint. For this we use Dryvatec G102 polymer additive in place of the water in the mix.
When water is coming through a joint, before choosing the method we look at how much the joint moves and where the water comes from.
A line of dampness, dripping or lime staining along the expansion joint in a wall or slab means the water is coming through the joint.
If the joint was filled with mortar or epoxy and cracked again after a few months, the problem is the stiffness of the material. That is why we choose a flexible gel.
Where the joint drops to the slab, the internal and external corners and the formwork voids are the points that take in water most often. We tighten the packer spacing there.
If the joint is wide or its movement is large, gel injection is applied together with an expansion joint tape bonded to the surface.
If the joint opens and closes by centimetres, or settlement is still going on, gel alone is not enough. A structural assessment comes first, then a suitable joint profile.
The D-07 detail shows the joint from above, in plan section. The soil side is at the top and the inside of the structure at the bottom. Click the image to enlarge it.
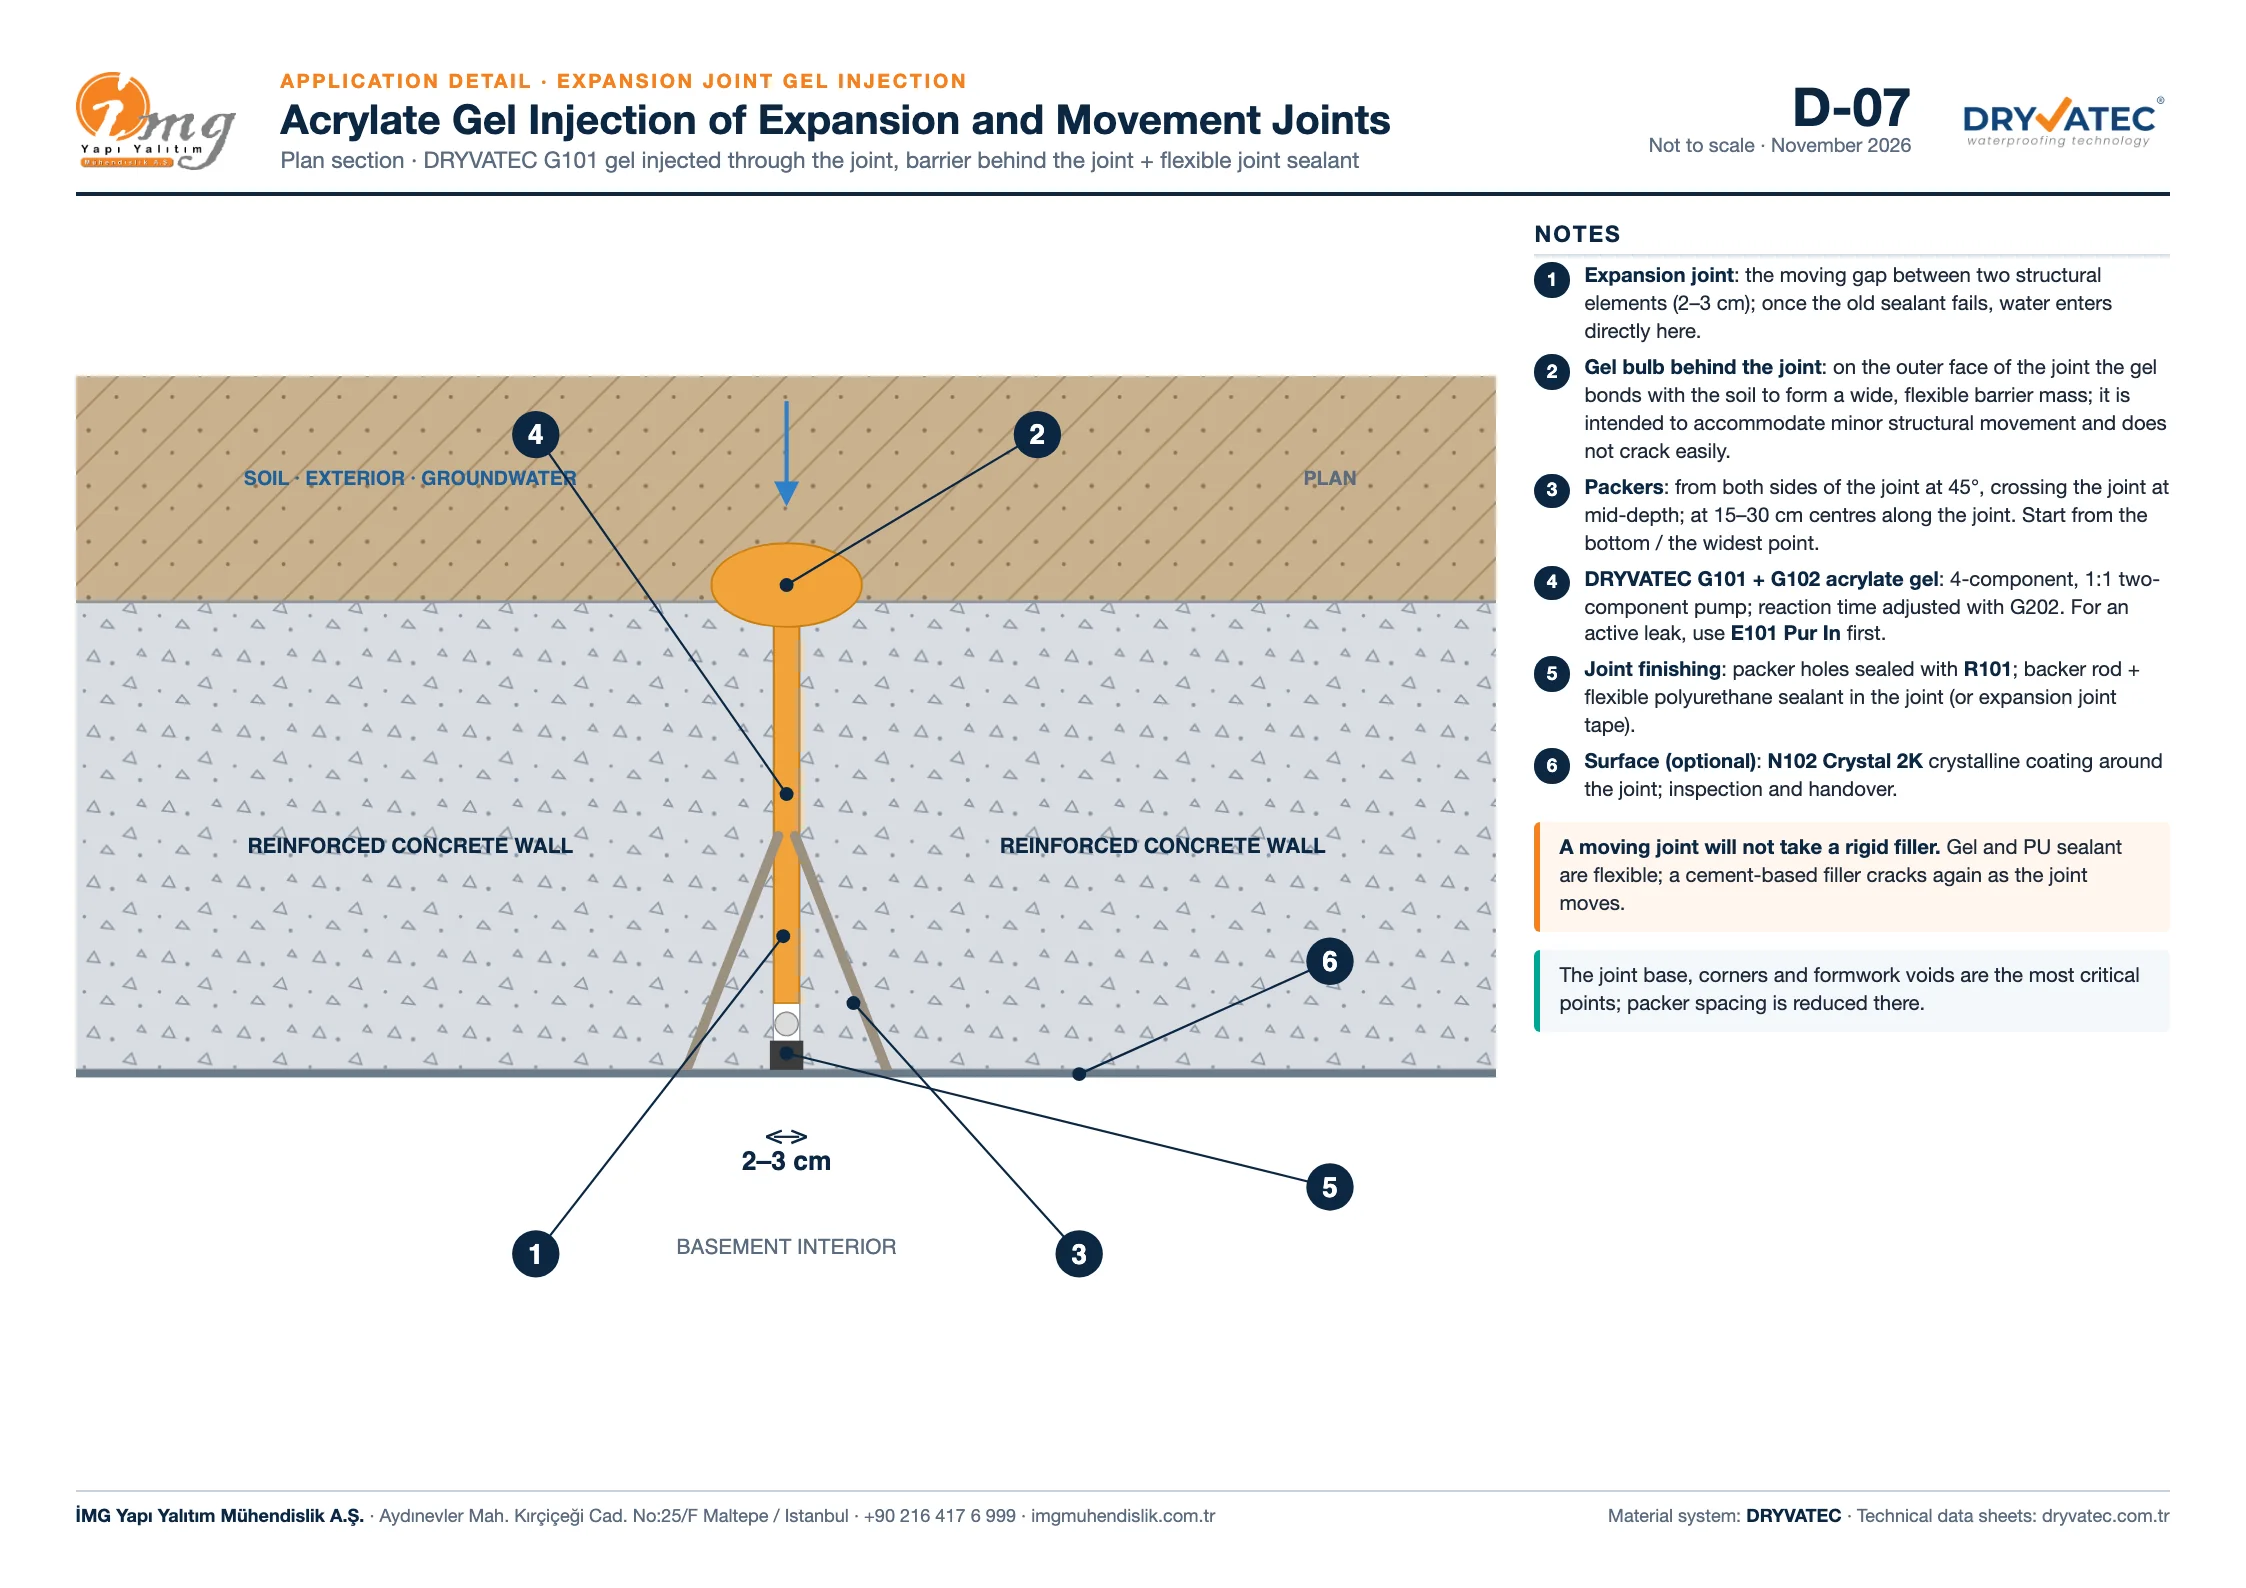
The RC wall or slab on each side of the joint. Packers are drilled from both blocks.
Angled to cut the joint at mid-depth, at 15–30 cm spacing, staggered from both sides.
The gel first fills the joint gap, then combines with the soil behind it and forms a bulb-shaped barrier.
Once the gel has cured, the mouth of the joint is closed with a backer rod and flexible polyurethane sealant.
The drawings are the application steps of the D-07 detail. For each step we have briefly written what we do and why.
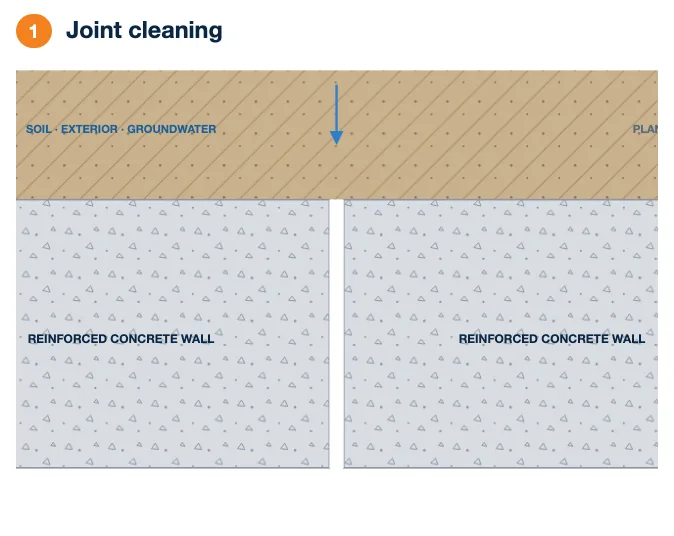
The old sealant, tape and loose fill are removed from the joint and it is cleaned with compressed air. If water is running from the joint under pressure, it is stopped first with E101 Pur In.
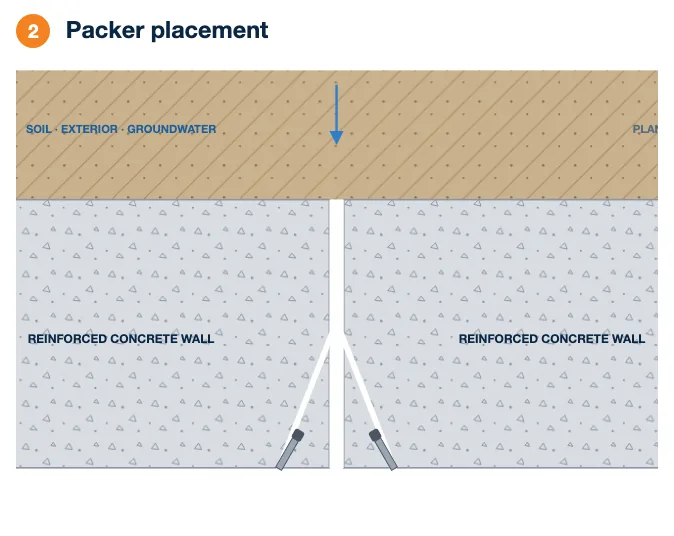
Packers are fitted in holes drilled from both sides of the joint at 45°, so that they cut the joint at mid-depth. Spacing is 15–30 cm, closer at the base and corners.
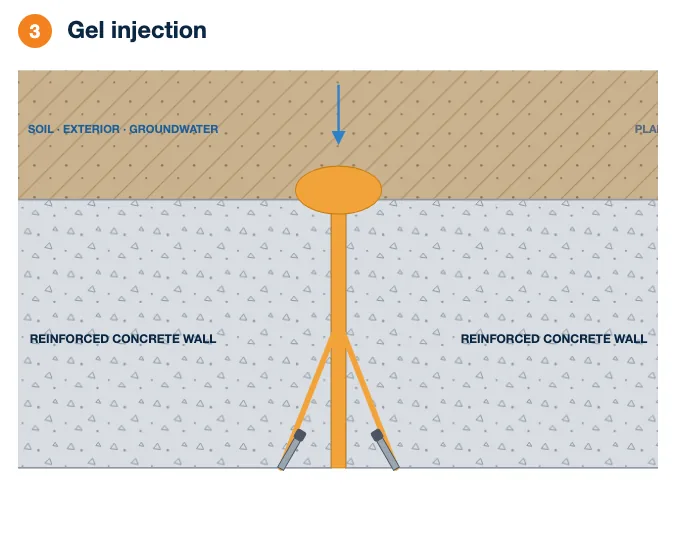
G101 gel with G102 additive for flexibility is injected at low pressure with the two-component pump. The gel first fills the joint gap, then passes behind the joint and spreads there in a bulb shape. When gel appears at the neighbouring packer, we move on to the next.
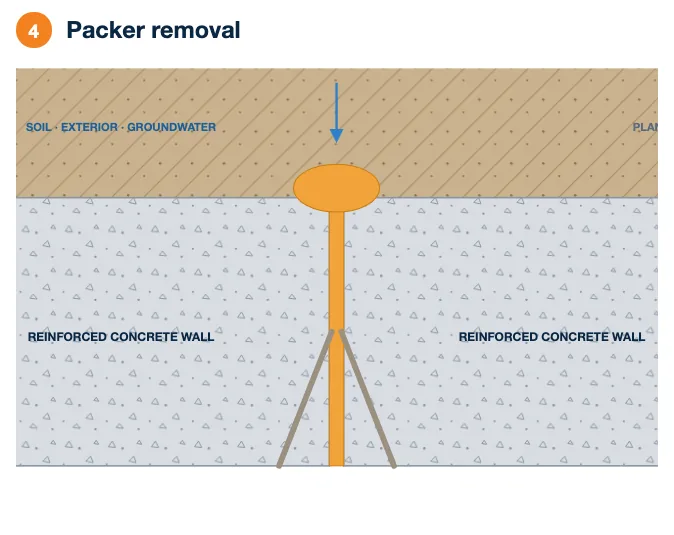
Once the gel has cured, the packers are removed and the holes are closed with R101 Repair Mortar.
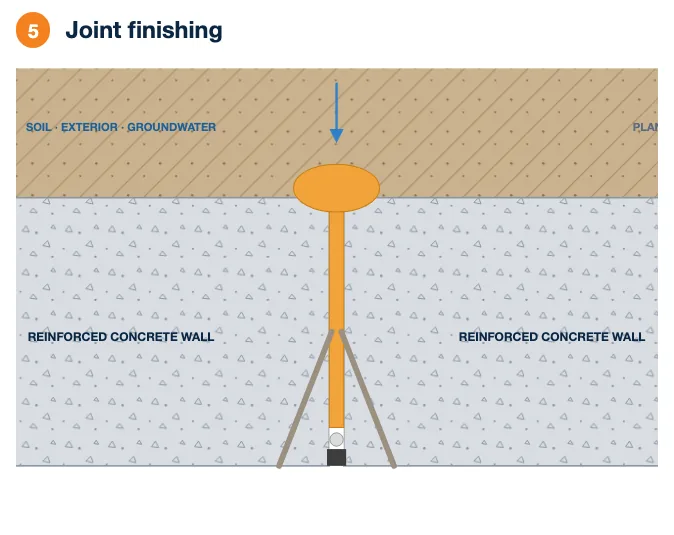
A backer rod of the right diameter is fitted in the mouth of the joint and it is sealed over with flexible polyurethane sealant. If the joint is wide or its movement is large, an expansion joint tape is added.
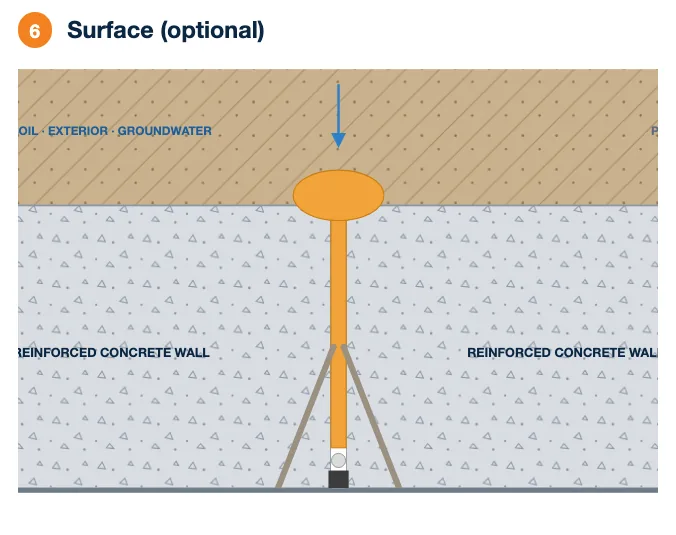
N102 Crystal 2K crystalline waterproofing is applied to the concrete on both sides of the joint; this also closes the capillary paths around the joint.
The application dimensions are specific to this method; the material values come from the Dryvatec G101 technical data sheet.
| Item | Value |
|---|---|
| Packer angle | 45°, from both sides of the joint |
| Packer spacing | 15–30 cm; closer at the base and corners |
| Gel mix | With G102 additive (fully or semi-flexible) |
| Joint closure | Backer rod + flexible PU sealant; expansion joint tape if needed |
| Property | Value |
|---|---|
| Viscosity | 5–30 mPa·s, close to water |
| Crack width it can enter | 0.05 mm – 4 mm |
| Mixing | Two mixes, 1 : 1 by volume, with a two-component pump |
| Reaction (gel) time | About 35 seconds to 24 minutes, set by the G202 ratio |
| Pump pressure | 5–100 bar; always start at the lowest workable pressure |
| Minimum application temperature | +2 °C |
| Density / pH | 1.15–1.20 g/cm³ / 6–7.5 |
| Flammability | Non-flammable; water-based |
| G202 ratio | Gel time |
|---|---|
| 0.15% | ≈ 11 minutes |
| 0.5% | ≈ 3.5 minutes |
| 1% | ≈ 1.7 minutes |
| 2% | ≈ 1 minute |
| 4% | ≈ 35 seconds |
| Mix | Liquid | Where |
|---|---|---|
| A — Standard | 20 kg water | Static cracks, porous concrete, the body of a stone wall |
| B — Fully flexible | 20 kg G102 | Moving cracks and expansion joints |
| C — Semi-flexible | 10 kg G102 + 10 kg water | Cases in between; chosen after a trial on site |
Reaction times are laboratory values. On site, cold water lengthens them and hot weather shortens them, so every job starts with a cup test. The G201 / G202 catalyst is part of the four-component system.
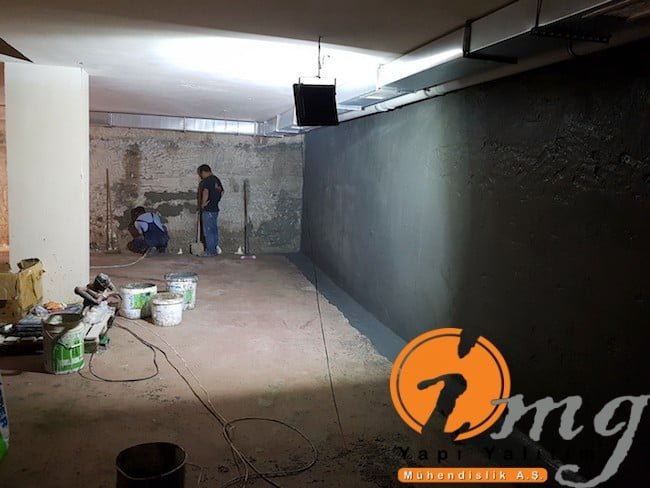
A job on an expansion joint running along a wall in an enclosed car park. The photo is from our own site.
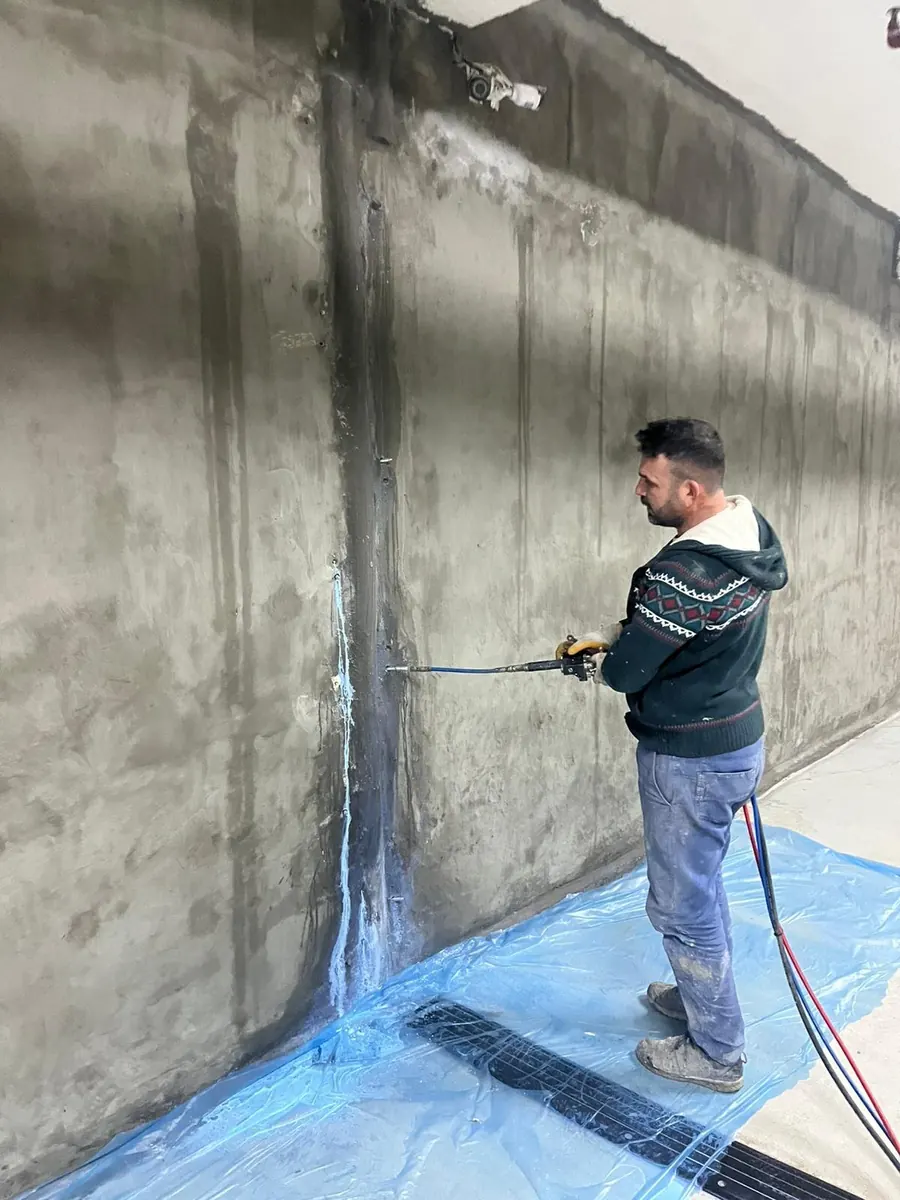
The flexible gel is meant to accommodate the small daily and seasonal movements of the joint. For large, ongoing movement a separate joint profile is needed.
In old joints the concrete surface can be dirty or oily. Before starting, we test in a small section how well the gel grips and swells.
The method does not repair old tape or membrane outside the joint; it puts a gel barrier in its place. Over time, extra injection may be needed at some points.
The movement capability of the sealant is chosen according to the joint width. The aim is not to fill the joint completely but to leave it at the right depth with a backer rod.
Acrylate gel is not a single method; how it is applied depends on where the water comes from. The highlighted row is the subject of this page.
| What you see | The right application |
|---|---|
| A large part of a buried RC basement wall is wet; water comes through cracks and cold joints | Curtain injection behind the wall (D-06) |
| Water comes in through the joint between two blocks; the old sealant or tape has failed | Expansion joint gel injection (D-07) (this page) |
| Water and salts come through the body of a rubble stone or masonry wall; the outside face cannot be reached | Stone wall body injection (D-08) |
| Water rises from under the slab, through cracks and joints in the floor concrete | Under-slab and foundation gel injection |
| The lower part of a brick or stone wall is damp, there is no water pressure, paint and plaster blister from the bottom | Not gel: D101 DampStop rising damp injection |
| A single crack or service penetration leaks at one spot | Crack injection (PU or acrylate gel) |

In an expansion joint, the flexibility of the gel is everything, which is why we use G101 gel together with G102 polymer additive. All the products are from our own brand, Dryvatec.
Because we make the material ourselves, whatever we run into on site goes straight back into the formula and the application instructions. The section drawing and steps on this page are part of the Dryvatec application detail set.
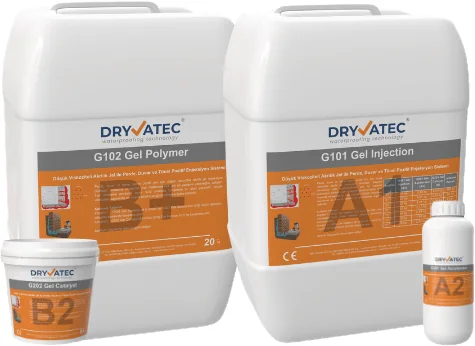
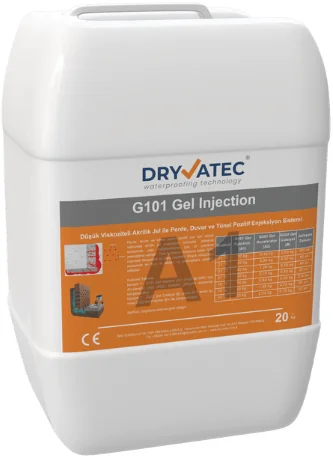
The core material of the system. A four-component acrylate gel almost as thin as water (5–30 mPa·s); it gets into hairline cracks down to 0.05 mm wide and stays flexible once cured.
Product page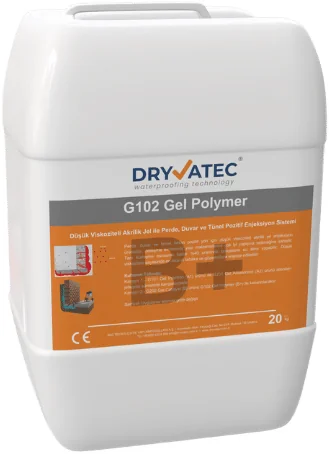
An acrylic polymer that makes the gel more flexible and improves its bond to concrete. In moving cracks and joints it replaces some or all of the water in the mix.
Product page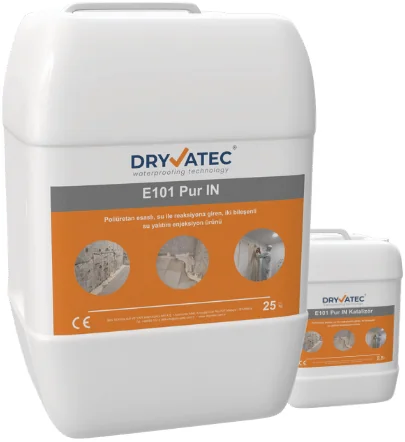
Polyurethane injection that stops water flowing under pressure. If there is an active leak it goes in before the gel; pumping gel while water is still running just washes the material away.
Product page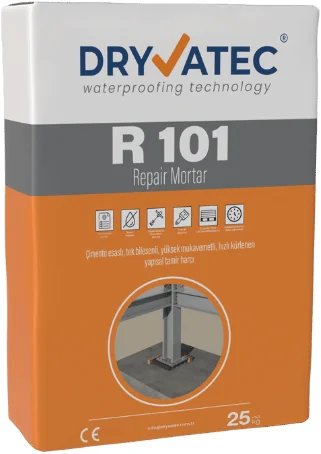
Repair mortar that closes the holes after the packers come out, as well as opened joints and broken surfaces.
Product page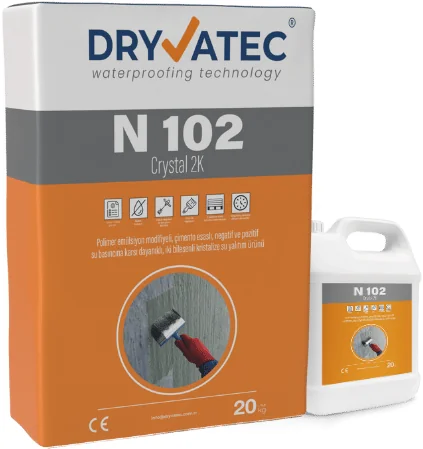
A two-component crystalline waterproofing applied to the inside face. Optional after injection, as a second line of protection and a clean finished surface.
Product pageOur YouTube channel has real site footage of our injection work.
For expansion joints in car parks, basements and plant rooms we work with teams based in Istanbul and Izmir, and across Turkey on larger projects.
From our Maltepe office to every district on the European and Asian sides.
From our Konak office to every district of Izmir and the wider Aegean.
For basement walls buried in the ground: a gel barrier behind the wall, with no excavation.
Application detailIn rubble stone and masonry walls, a water-stopping layer formed inside the wall with gel through the mortar joints.
Application detailWhen the water comes up from under the basement slab: a gel layer beneath the slab, without breaking it out.
Application detailSend us photos of the joint line and its approximate length through the survey request form, or give us a call. If you also tell us about the earlier repair, we can work out together why it did not hold.